Thursday, January 31, 2019

S2 Week 04 Hard Surface Modeling Large Part 02

This week I completed the rest of the high poly model for the gun.  It was all modeled in Maya and then pushed to Zbrush for final polish and render shots.  Moving forward into the next week I will begin resurfacing the model and utilizing the the base cage low res model I made in Maya to reduce the work time necessary.  I will also begin a first pass of my Substance painter material that I'll refine.  Below are the render shots I took of the gun model in Zbrush!  I spent a lot of time making this model including starting the first weeks progress over.  But I'm quite happy with  how it turned out this week!


Monday, January 28, 2019

S2 Week 03 Hard Surface Modeling Large Part 01

This week I modeled half of the example Nerf Gun given to us all in Maya. Next week I will complete the rest of the modeling for the gun and resurface it as well.  Below is the Nerf Gun reference image used as the image plane for modeling purposes.  And below that are the render images from Maya of the model currently with and without wire frames.


Monday, January 21, 2019

S2 Week 02 Small Hard Surface Modeling Part 2

This week I took the high res sculpt model of the knife and resurfaced it in Maya using the previous proxy geometry I made. After that I created the UV layout for each piece and exported the FBX files to be brought into Substance Painter.  This week was a little different because the model was broken into multiple pieces to be painted and then assembled later.  After painting each component in Substance I exported the bake map information and assembled their materials in UE4.  Starting with the image below is the wireframe render of all the components after resurfacing.

Below are the individual paint jobs I did for each piece in Substance Painter.
And here are some shots of the final product assembled in UE4!


Monday, January 14, 2019

S2 Week 01 Hard Surface Modeling

This week I modeled a knife in Maya from reference imagery using the crease tool and smooth mesh conversion tool.  Then I pushed the model to Zbrush and used the live boolean tool to create negative geometry to carve out shapes in the knife. As well as using the intersection option of the boolean tool to create new geometry strictly in Zbrush.  Below is the reference image given to me for modeling.
I started with modeling the blade as a separate segment in Maya and then pushed it to Zbrush.  Here is the final polished version of the blade piece in Zbrush.  
 Here are the render images of the full knife in Maya(top) and in Zbrush(middle/below.)  The Maya render shows the shapes I created that would later be subtracted by using the Live Boolean tool in Zbrush.  And of course below the Maya image is the full knife rendered in Zbrush with the shapes carved out using the boolean tool.


Thursday, December 6, 2018

3D Week 16 Final Round Of Environment Scene

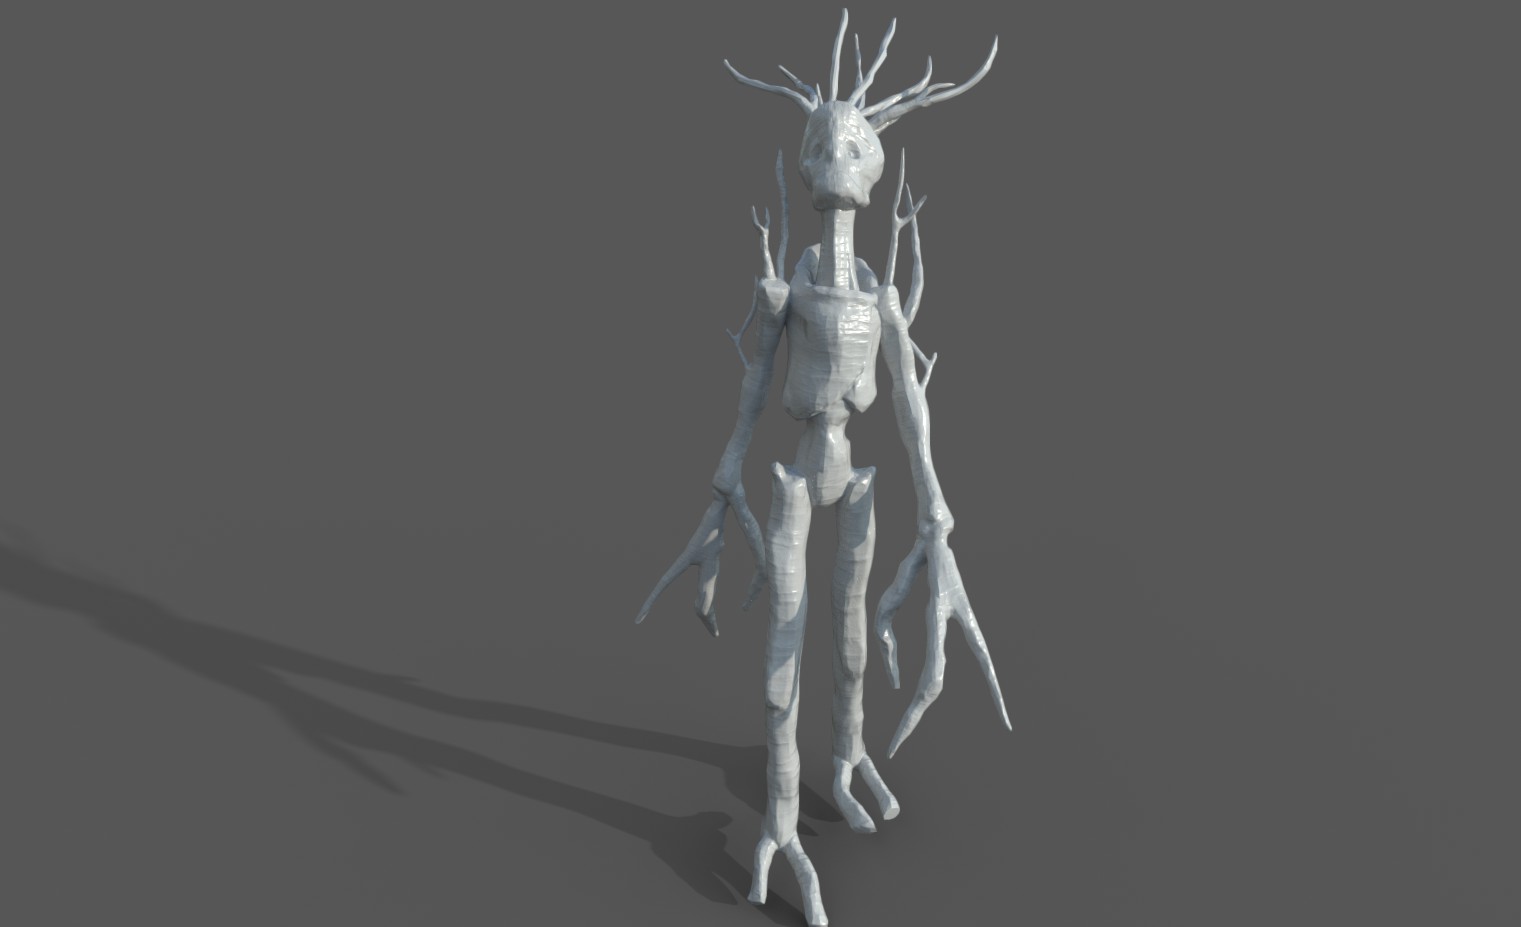
This is the final weeks progress of the overall final that the 3D artists had.  I of course instead of just doing an environment had to throw a creature in there so I made a Birch tree Ent.  This final round of development I painted all of my modeled assets in substance painter and made a substance designer material of dirt for the base.  Following the standard pipeline for 3D asset creation I exported those bake maps and created materials for them in UE4 as well as created vegetation cards for the scene.  After everything was imported it was all a matter of assembling this bad boy together in engine.  I built the scene and placed every asset, making tweaks to materials as needed.  Added lighting as well as my very own particle effects that I created for this environment!  All the little details came together to make this scene feel alive and I love it. This was an incredible project to work on and I can't wait to do more environments!


2D Week 15 Round 5 Final Delivery of Demo Level

This week I helped assist with general clean up and refinement of our level as well as some tech art issues we had with the VR tracking system.  I also modeled some proxy Art Deco buildings for our city skyline outside the arboretum. The art director and myself worked together to decide and build our presentation for the VR level test.  Below are the proxy models in Maya and then placed in the level with some basic materials on them.


Monday, December 3, 2018

3D Week 15 Environment Round 3

This round there was a bit of a new time constraint so it limited down the work I had originally intended to do.  So for this weeks round I finished all of my high res sculpts for the rock set, the hero asset Ent character, and the background birch tree trunks.  I specifically only sculpted the tree trunks of the birch trees because I will be using foliage cards I created to fill them out.  Below are my handy dandy high res sculpt images for the Birch Ent and the rock set.

After finishing all of the high res sculpts for the assets I resurfaced all of the models in Maya and created UV's for all of the assets as well.  Below are some images from the resurfacing process that show an improvement of my edge flow skills!


After resurfacing all of the high res sculpts and creating proper UV layouts for the assets I exported the FBX files and imported them into Substance Painter and created all of the bake maps for the rock set, the birch Ent, and the birch tree assets.  They are now setup to be painted in the next round and exported to create materials in UE4.  Here are some images of the assets in Substance Painter ready to go for the next round.


 And next week will be the final polish of the entire environment including the substance designer materials I will have made.