Thursday, September 27, 2018

2D Week 05 Perspective Assignment

For this weeks 2D assignment we had to take a piece from the artist John Berkey and model it in Maya to gain a better understanding of perspective and how 3D software can help aid us in creating reference images for 2D usage.  After I rendered the 3D model I took the render image and brought it into Photoshop to create a 2D recreation of the original image.  I decided to go with a more painterly style when recreating the image because I didn't want to create an exact copy of the original.  I chose this piece because I like one point perspective and the long receding sight lines that are created in environments by one point perspective.  Below is the original image created by John Berkey and below that is the Maya render image after I created the model.  And at the bottom is my recreation of the John Berkey piece.


Monday, September 24, 2018

Tech Art Week 05 Rigging Assignment

This week we had to take a model and create a rig for it in Maya, a rig being what allows the model to be manipulated.  The process involved creating a joint based skeleton for the model as the basis of the rig. Next was orienting the joints so that when manipulated they would function uniformly and accurately.  After that was creating all of the controllers for each joint and constraining them to their corresponding joint in the hierarchy.  Next was the process of binding the mesh to the rig and creating a skin essentially; followed by painting the skin with weights so that when manipulated the mesh of the skin would warp or distort.  And after this process you end up with a functioning rig for the model!

Tech Art Week 04 Blueprints Assignment

This week we had to create two dynamic blueprints in UE4.  One was required to activate when your character entered a trigger box.  And the other was required to activate when the player pressed a key command.  Both of my blueprints were based around the concept of a necromancy tome activating in a room.  So for the trigger box event I had the candles on the side of the tome activate green lighting effects.  And for the key activated event I had the tome itself start glowing green and levitate into the air while rotating.

Below is a shot of the room with no blueprints activated.


Here the candles have been activated by the player walking into the invisible trigger boxes.


And here the tome has been activated by the G key and has lifted into the air starting its rotation.

3D Week 05 Modeling A Prop Assignment

For this week we were tasked with modeling a proxy cannon in Maya, with the polygon count remaining under 1000 tris.  First I set up the image planes and mannequin from UE4 for scale reference.
Next I modeled the proxy cannon.
 After modeling the cannon I reduced the unnecessary polygons and checked for ngons.  Then I created the automatic UV's for the proxy.
After finishing the model I exported the fbx file and imported the asset into UE4.
 Here are some rendered images of the proxy model with and without the wire frame.

Tech Art Week 03 Basic Lighting and Materials Assignment

This week we were tasked with taking a level map from perforce that had no lighting and create our own lighting in the scene.  It could be any time of day, indoor or outdoor, but we had to create all the lighting so that it looked good and functioned well in game.  After creating lighting we added some materials that we created onto objects in the world that we had migrated over from other asset packs.  And of course after doing all of these tasks submitted everything up to the perforce server.  I wanted to do a night setting for the lighting and everything is lit by candle lights because of this. Below are some shots of the scene with the lighting and materials I created.


Tech Art Week 02 Perforce and Engine Basics Assignment

This weeks assignment was primarily about learning how to properly use perforce and it's server revision functions.  I created a small scene in UE4 using assets found in the Unreal Engine Library asset packs.  Then I submitted everything, including assets and maps, to the perforce server.  This allowed other people to download the level and have everything show without having the files on their computer.  Below are the images of the level scene I created with multiple asset packs. I wanted to create a sort of dystopian slum for this assignment.


Thursday, September 20, 2018

2D Week 04 Composition and Layout Assignment

This weeks assignment we chose a Drew Struzan work and recreated it to the best of our abilities so that we may better understand composition and layout when creating work. I chose his poster design for the movie The Thing.  His works composition is pretty straight forward in that it is a standard vertical cross with the horizontal weight being along the line of the hands. This cross composition is also combined with the vertical radial composition.  The radial composition is pretty obvious in that it literally has light beams radiating out from the head of the "Thing."  So a combination of vertically laying out the figure in a cross composition and the radial layout of the light beams conveys the interesting concept of the movie where the "Thing" could be literally anyone and who can you trust?  The top image is the original work by Drew Struzan and below that is my recreation of his work!


Monday, September 17, 2018

3D Week 4 Lego Assignment Part 02

For the second part of the Lego project our team finished modeling the rest of the pieces necessary to complete the Helms Deep scene.  We also created LOD's for the assets and implemented them into the UE4 project sub levels.  After that each member created the blueprint actor of the assembled pieces and sent them to the team leader.  I created the Uruk-hai ladder piece for the vehicle team.

Below are the high poly and low poly models for the ladder connector piece.  I created the LOD from these models and imported it over to UE4.


This is the hook piece for the Uruk-Hai ladder and its high poly and low poly models.  Similarly I creatd the LOD for this and imported it over to UE4.


And below is the ladder assembled with all of its pieces in a UE4 blueprint.


Here is the blueprint actor place in the level!  This blueprint was sent to the team leader for further scene assembly.


Here are some shots from the actual level once it was assembled and completed by all the teams!

Thursday, September 13, 2018

2D Week 3 Frank Frazetta Assignment

For this weeks assignment we were assigning shadows and highlights to line work to demonstrate an understanding of values in both 2D and 3D forms.  Below is the base line work image from Frank Frazetta and beneath that is the value drawing for the values.
 

Sunday, September 9, 2018

3D Week 3 Lego Assignment Part 01

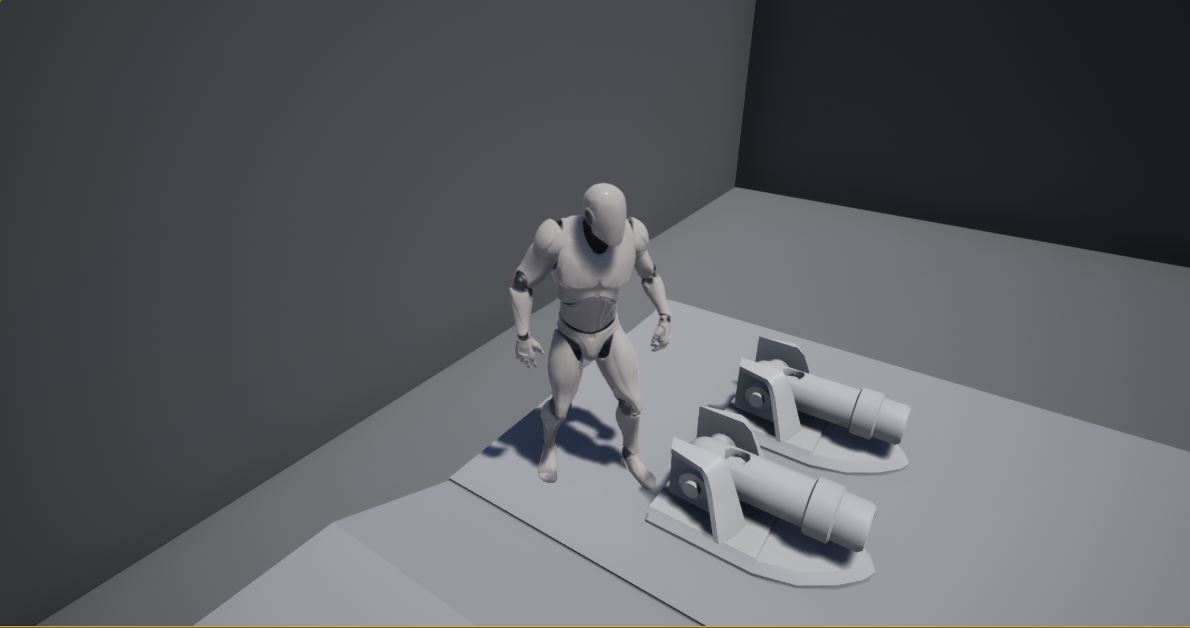
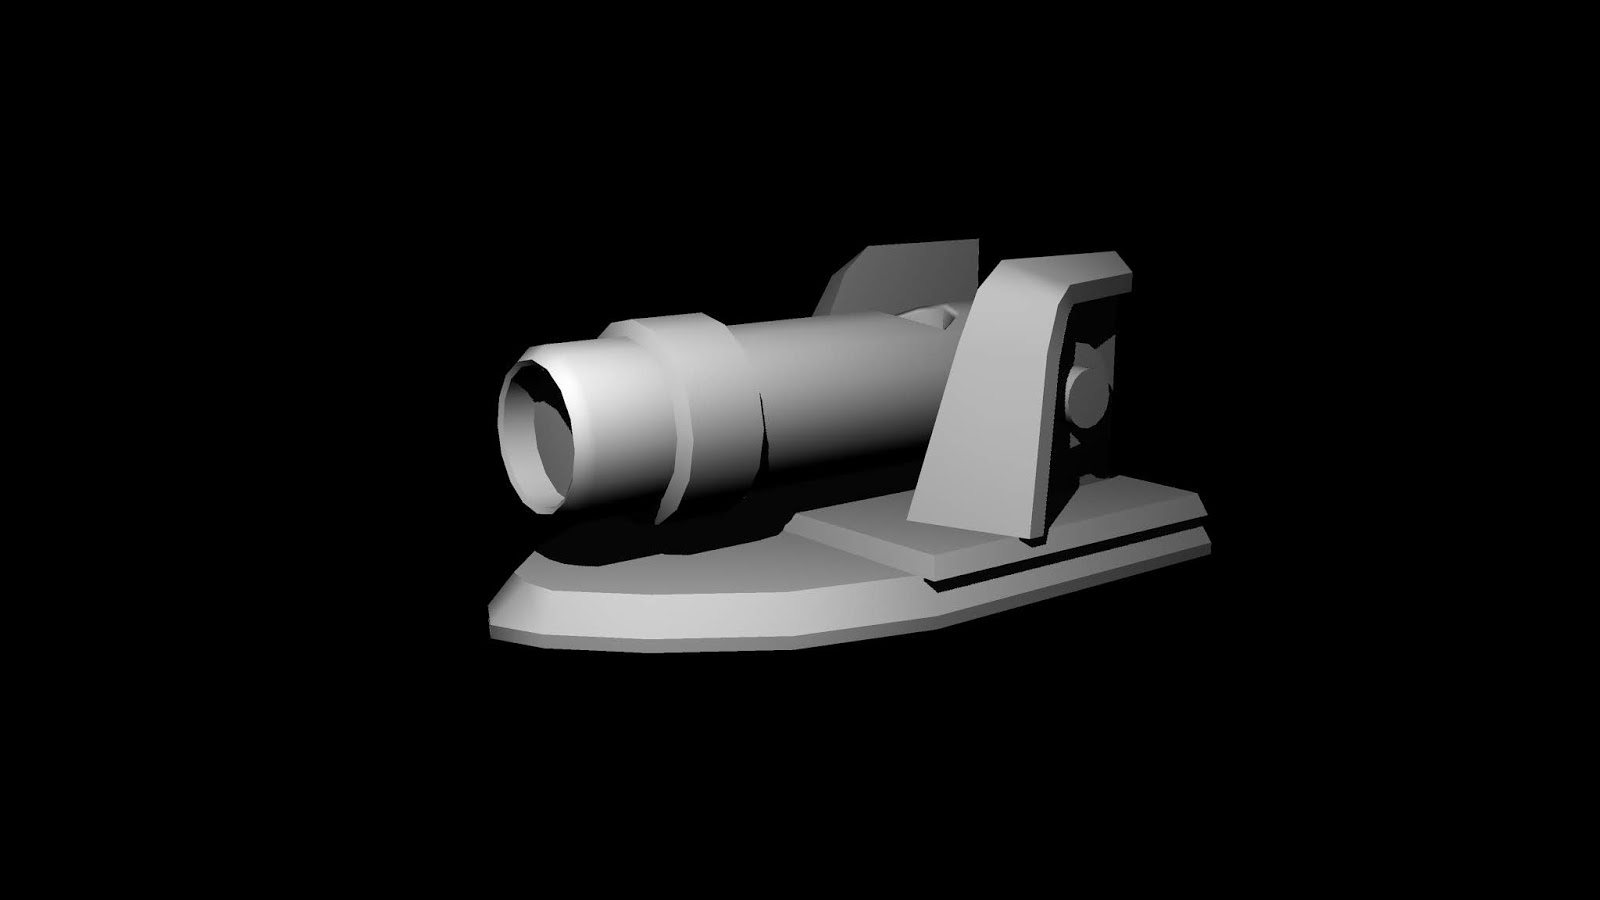
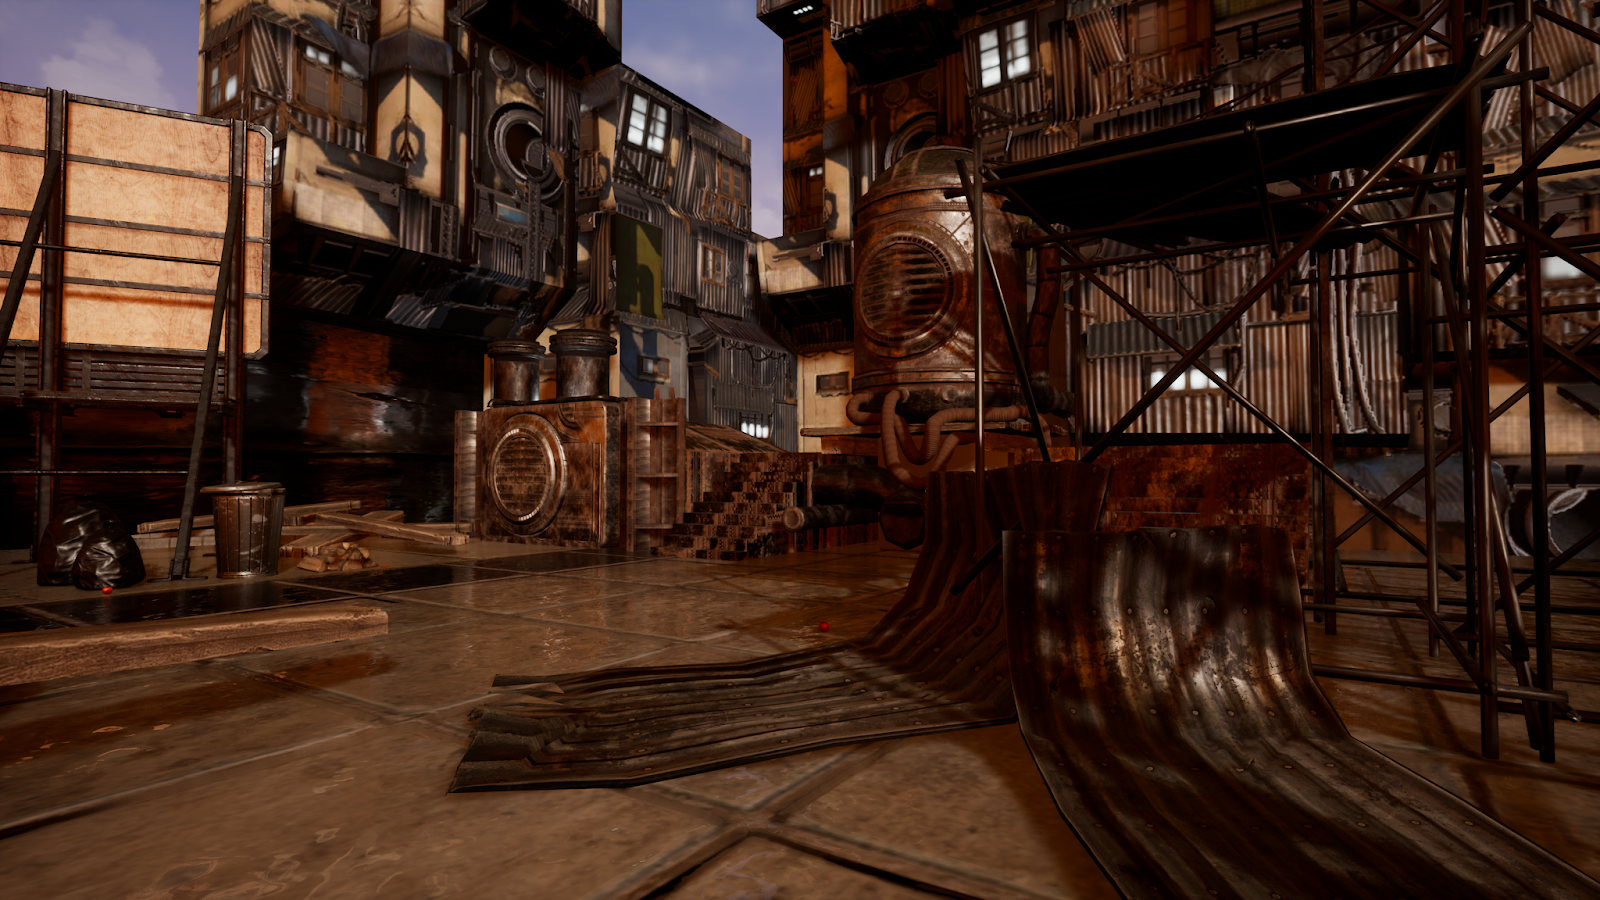
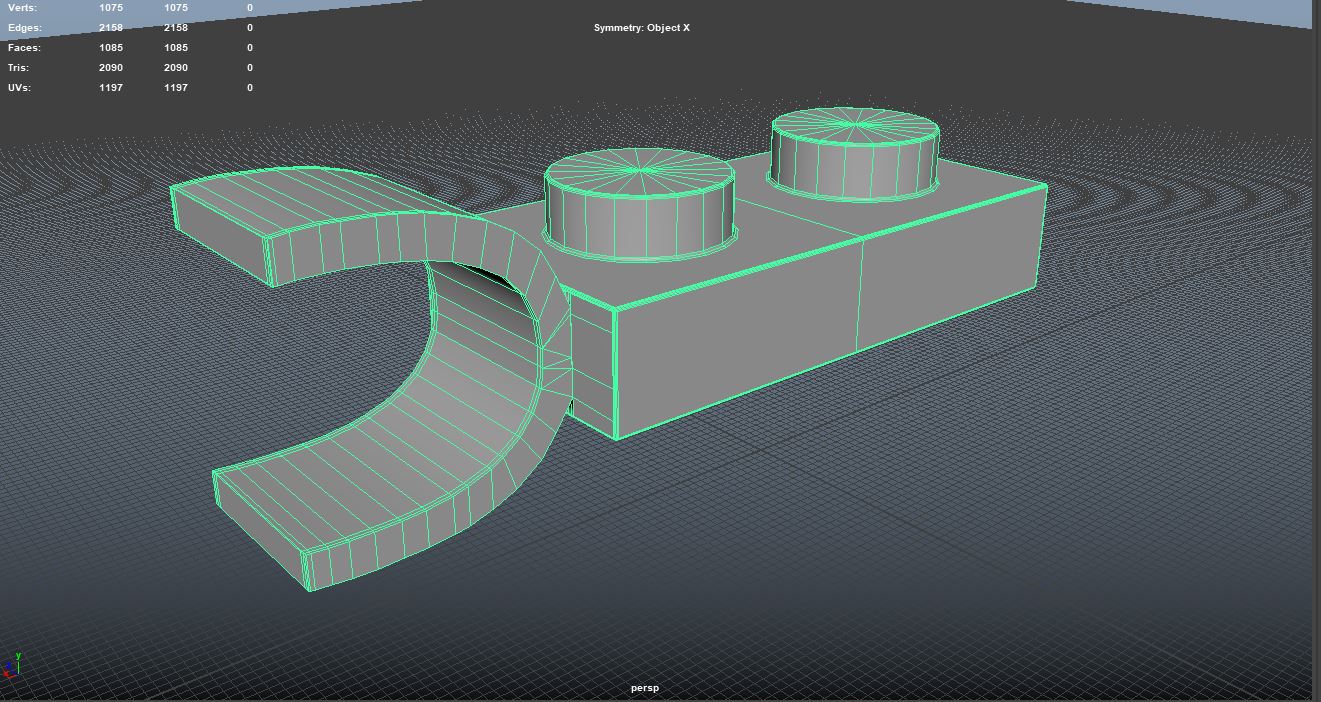
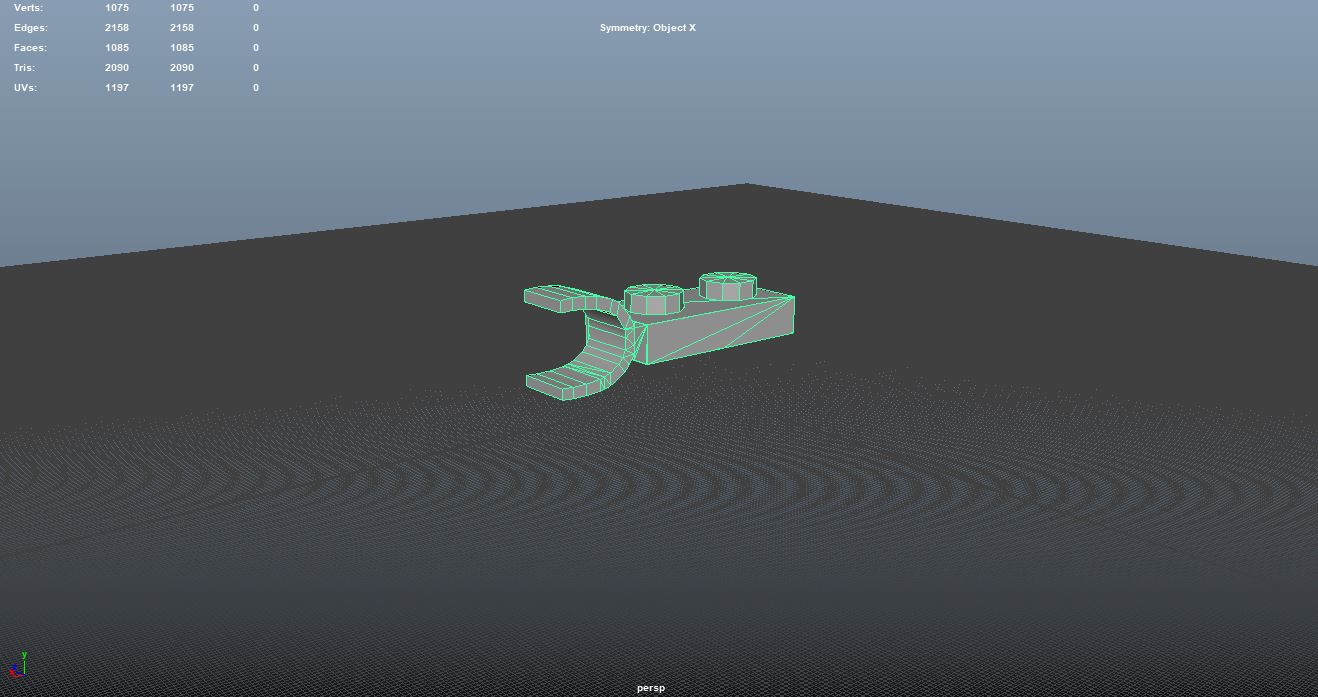
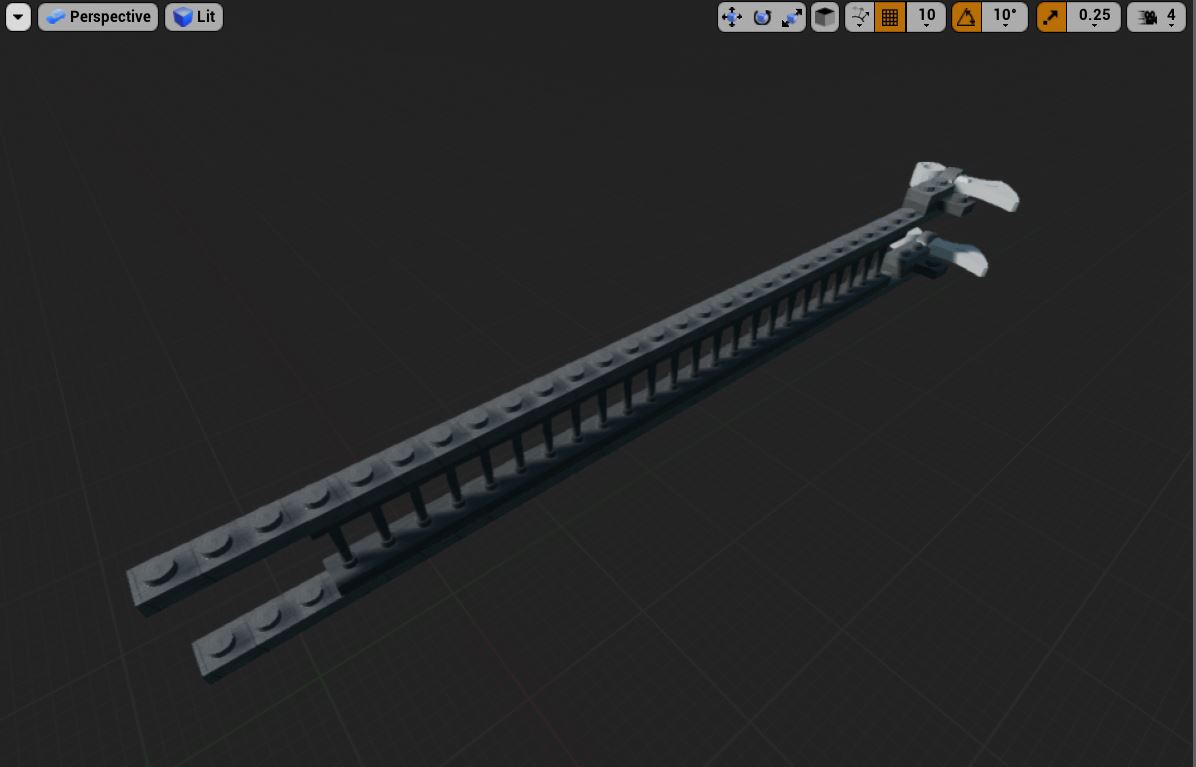
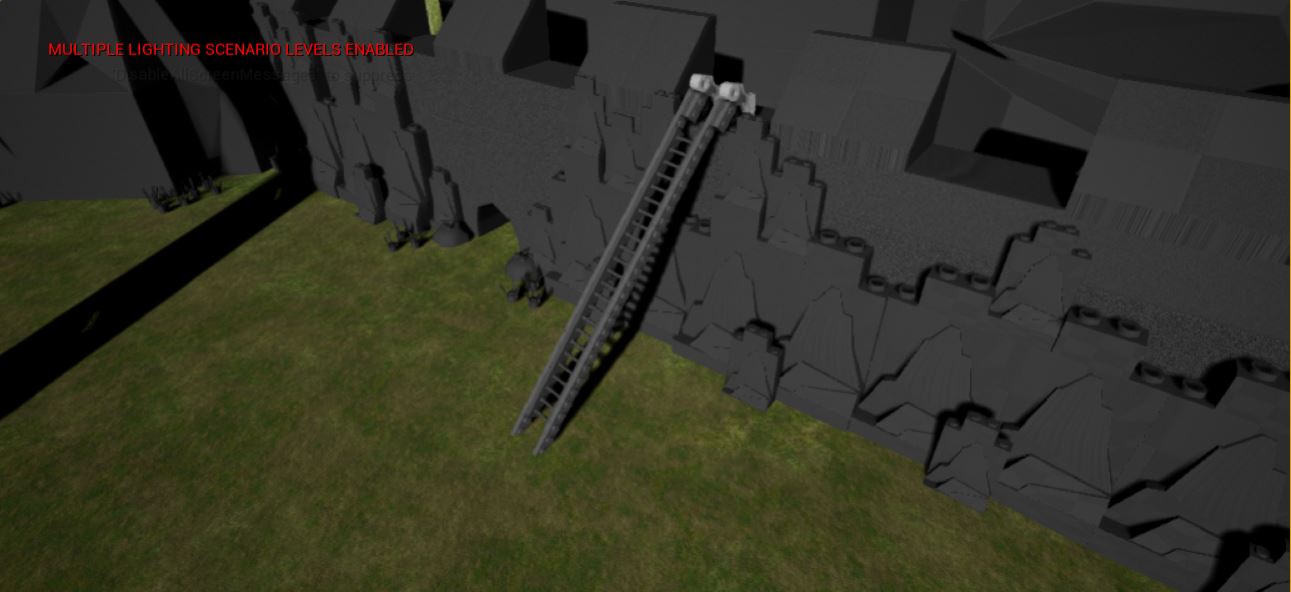
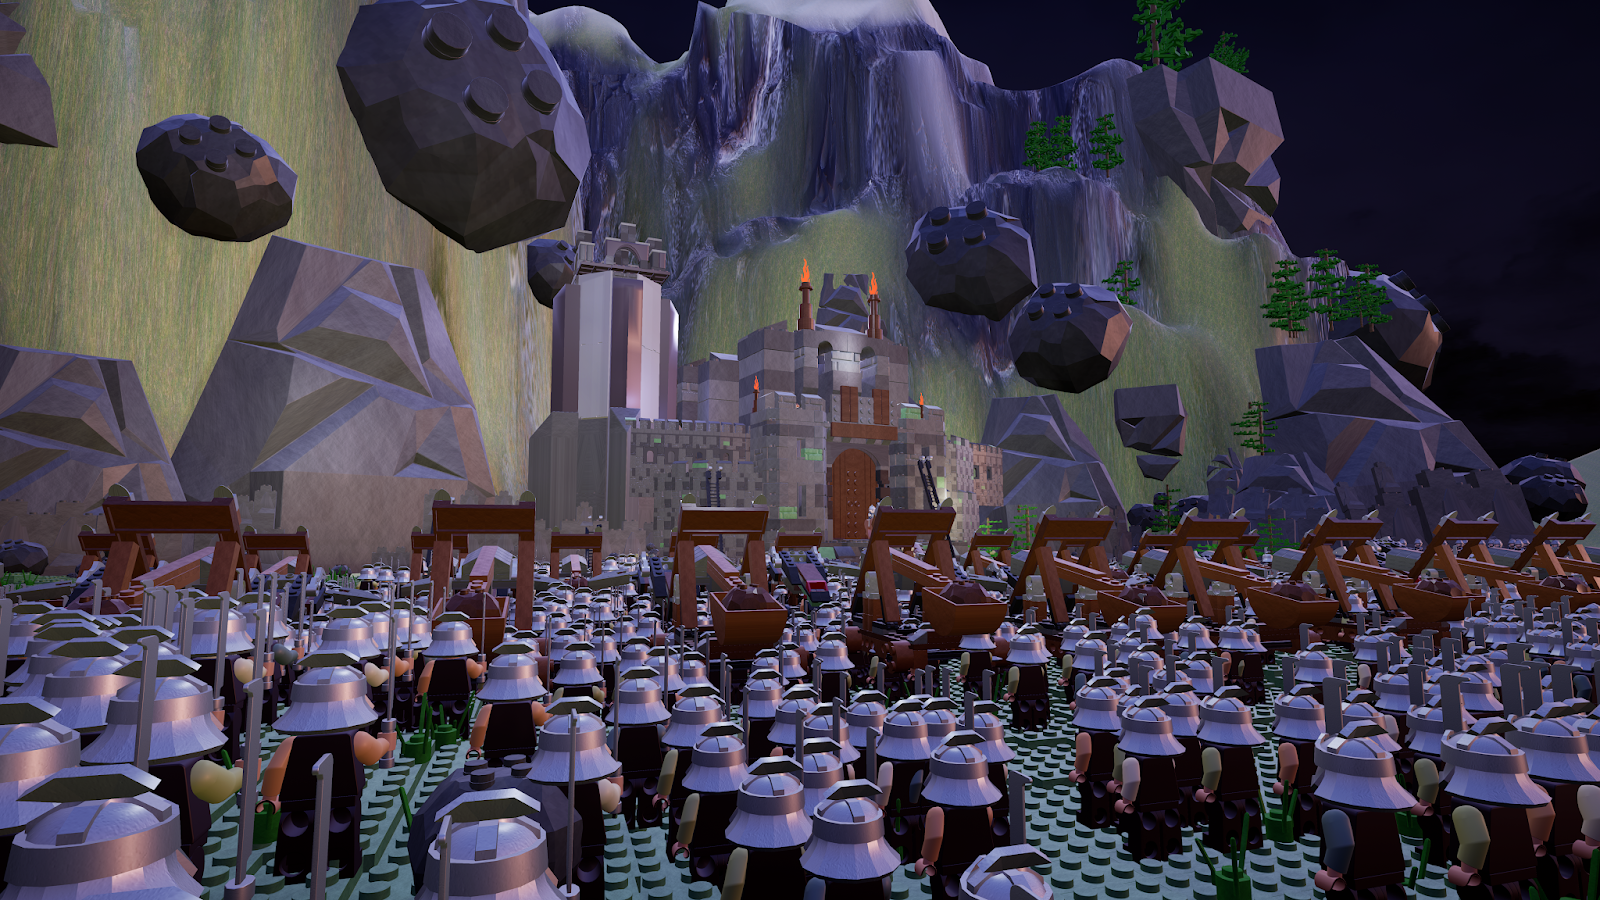
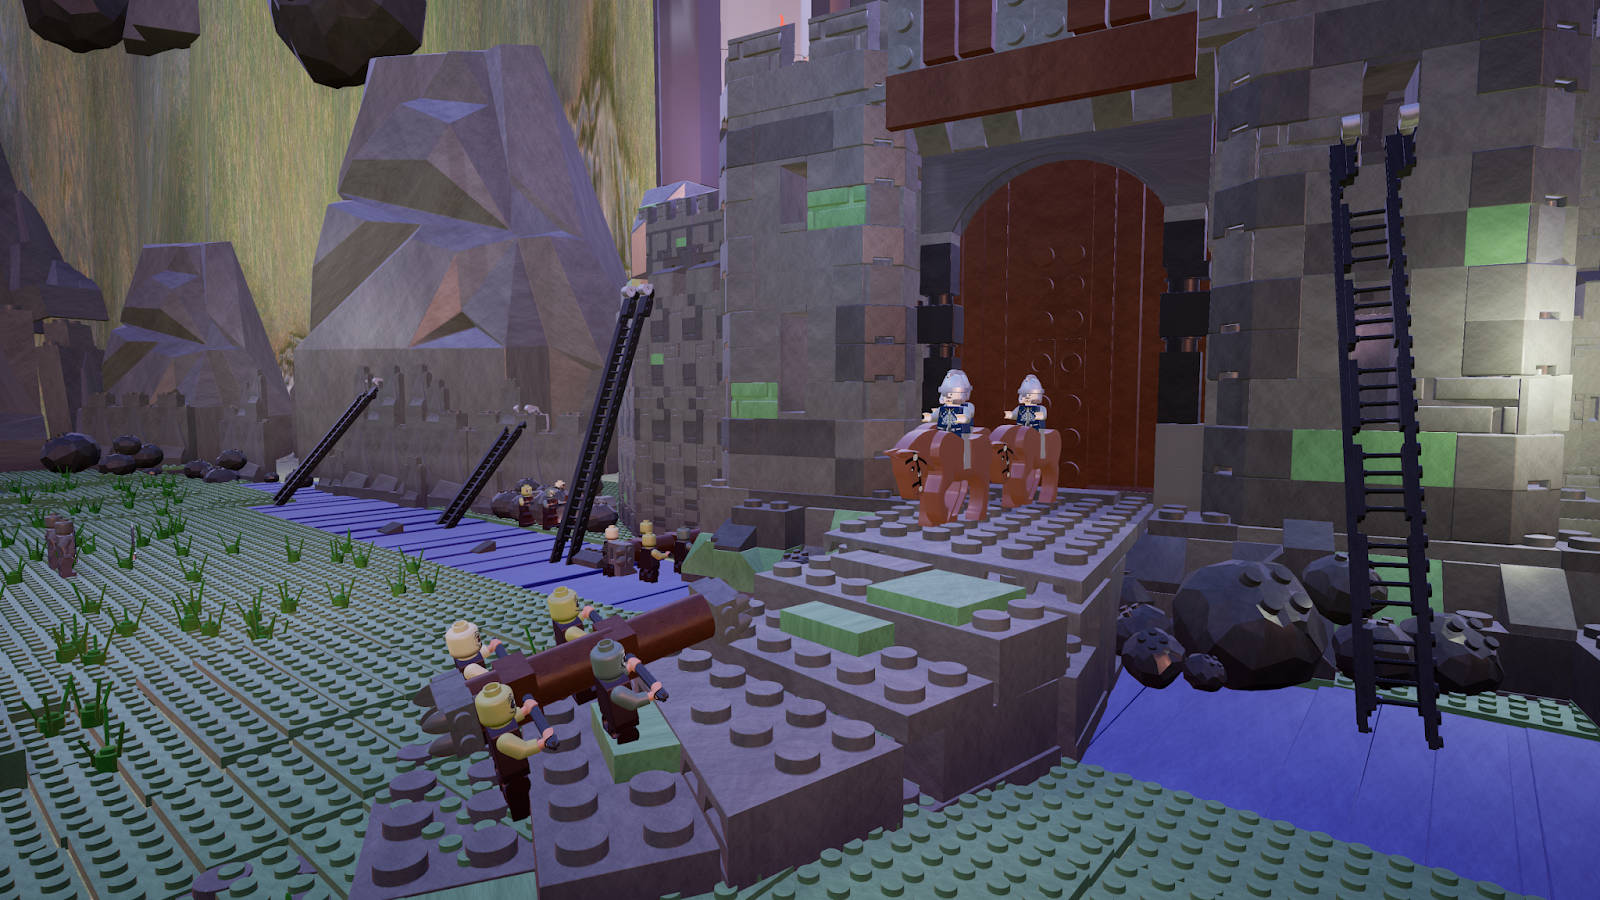
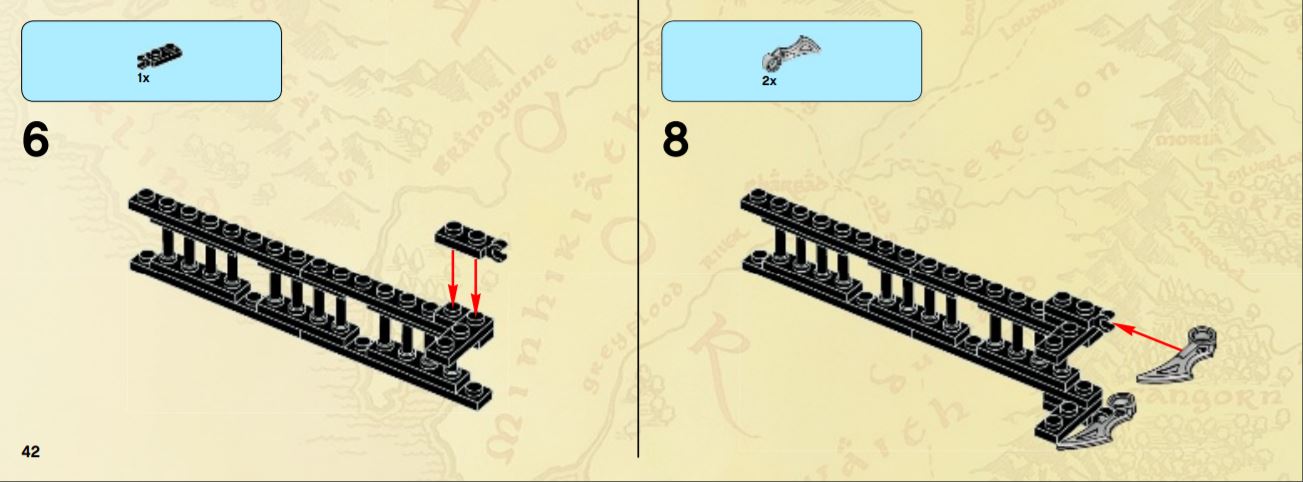
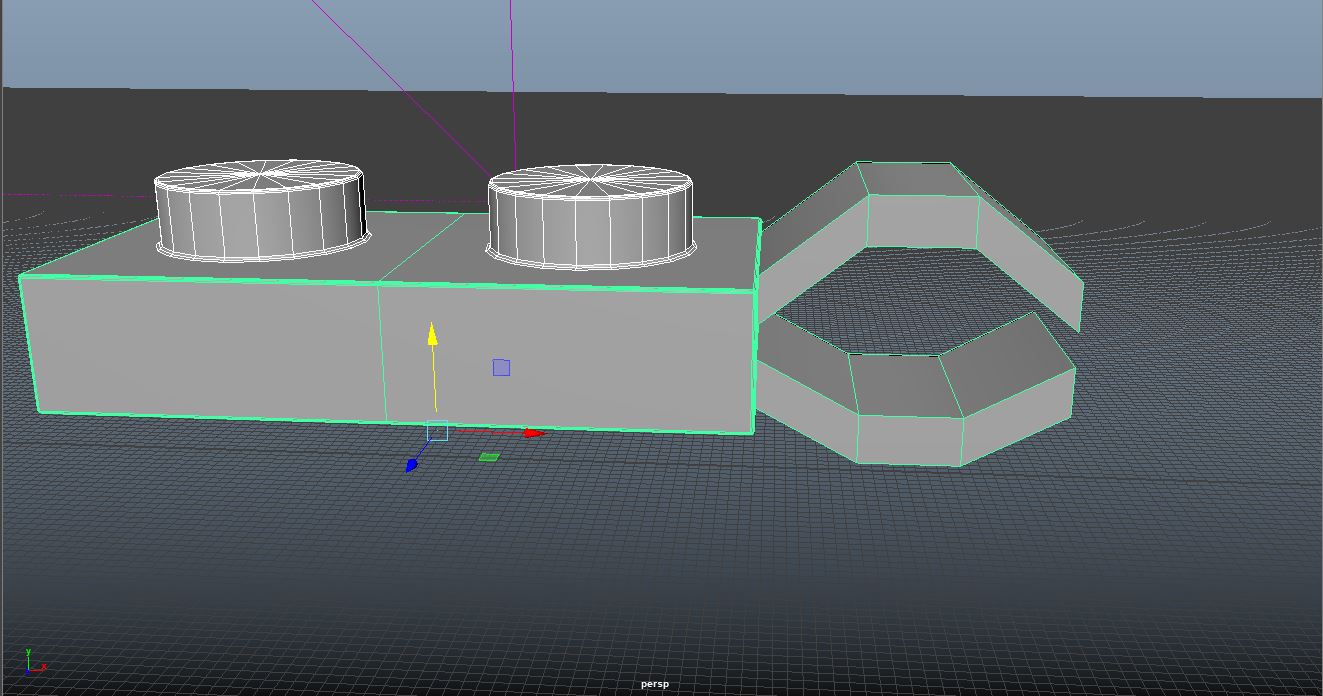
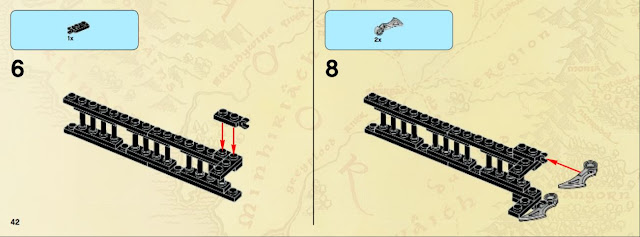
For this week and the next week our team will be working on the vehicles/mounts for the Lego Helms Deep recreation. I will be assembling the ladders used in the fight to scale the walls of Helms Deep.  Many of the pieces already exist within the Lego library.  There are two pieces that I will need to create models for and for this week's assignment I created the piece from the left image below.  It is the connector piece for the hooks to attach them to the overall ladder model.  

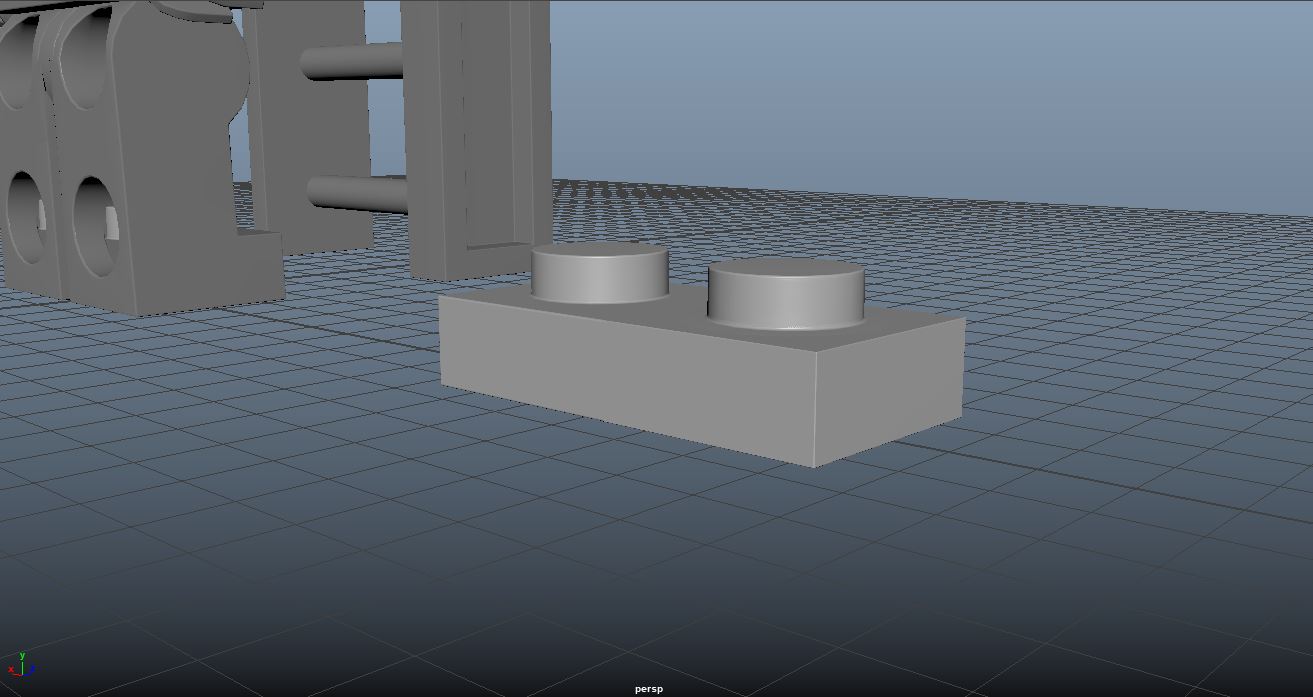
 I started with one of the basic bricks and made sure everything would work to scale in the UE4 project.

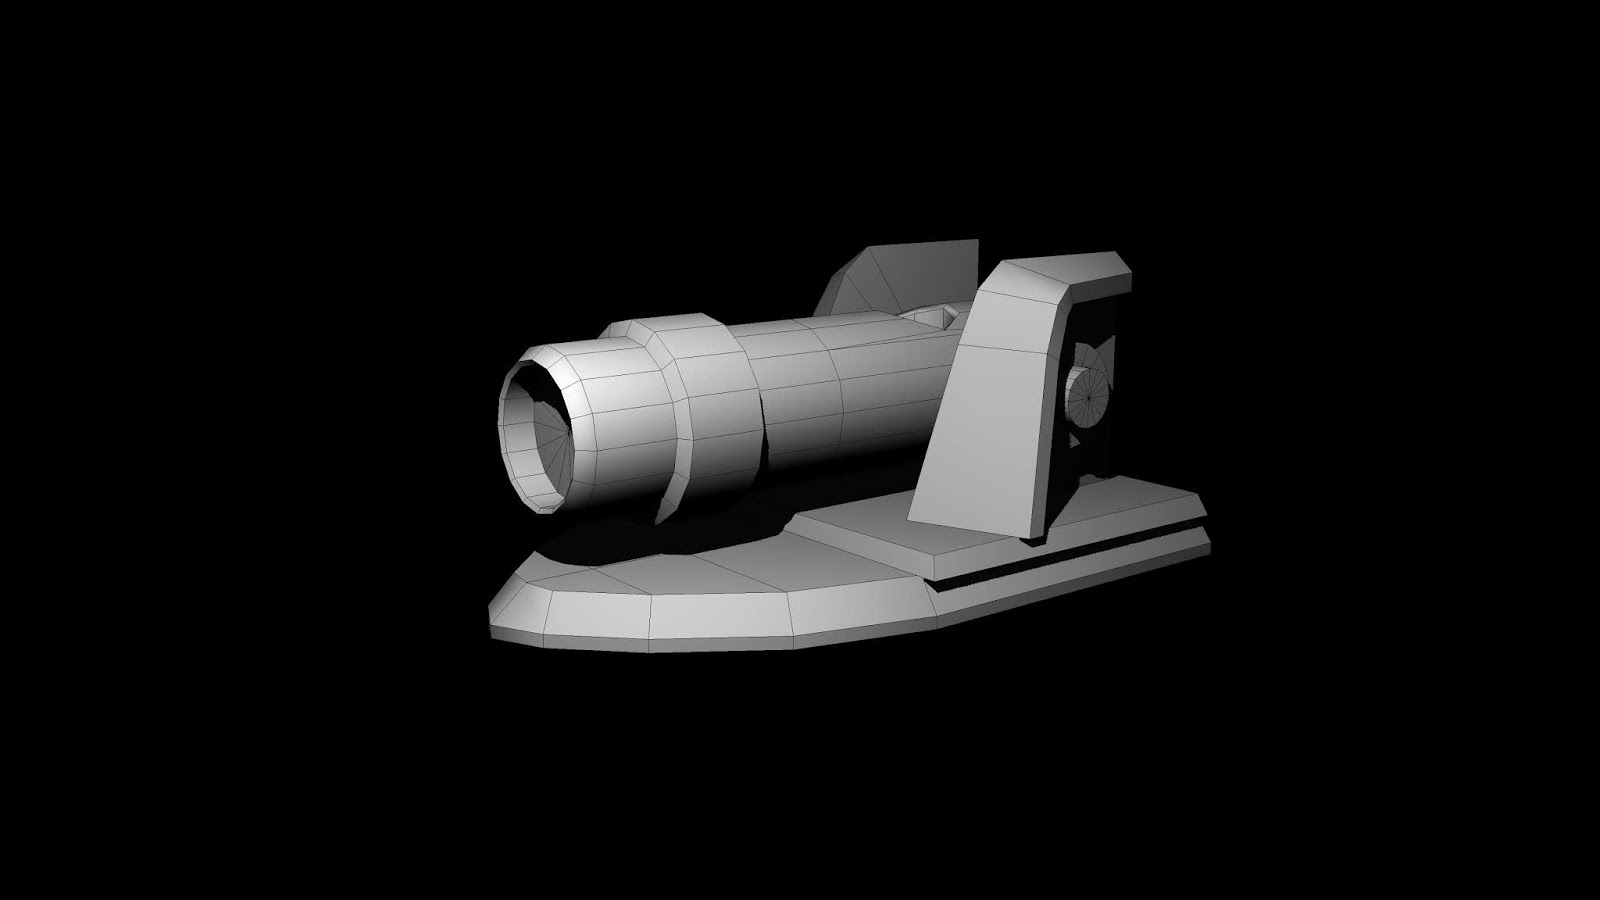
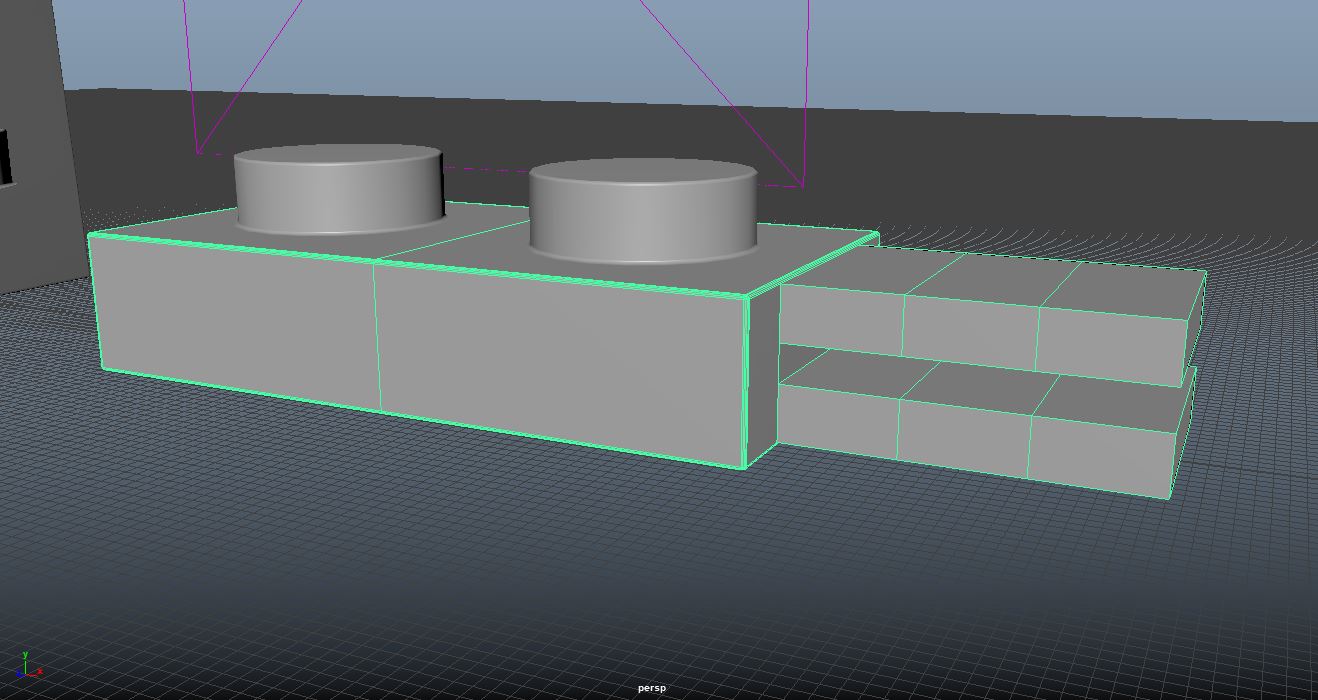
Using the multi-cut tool I created segments to extrude outwards and manipulate into the curved arch of the lego piece.


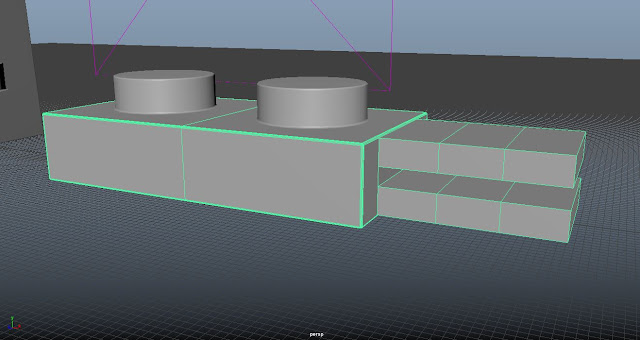
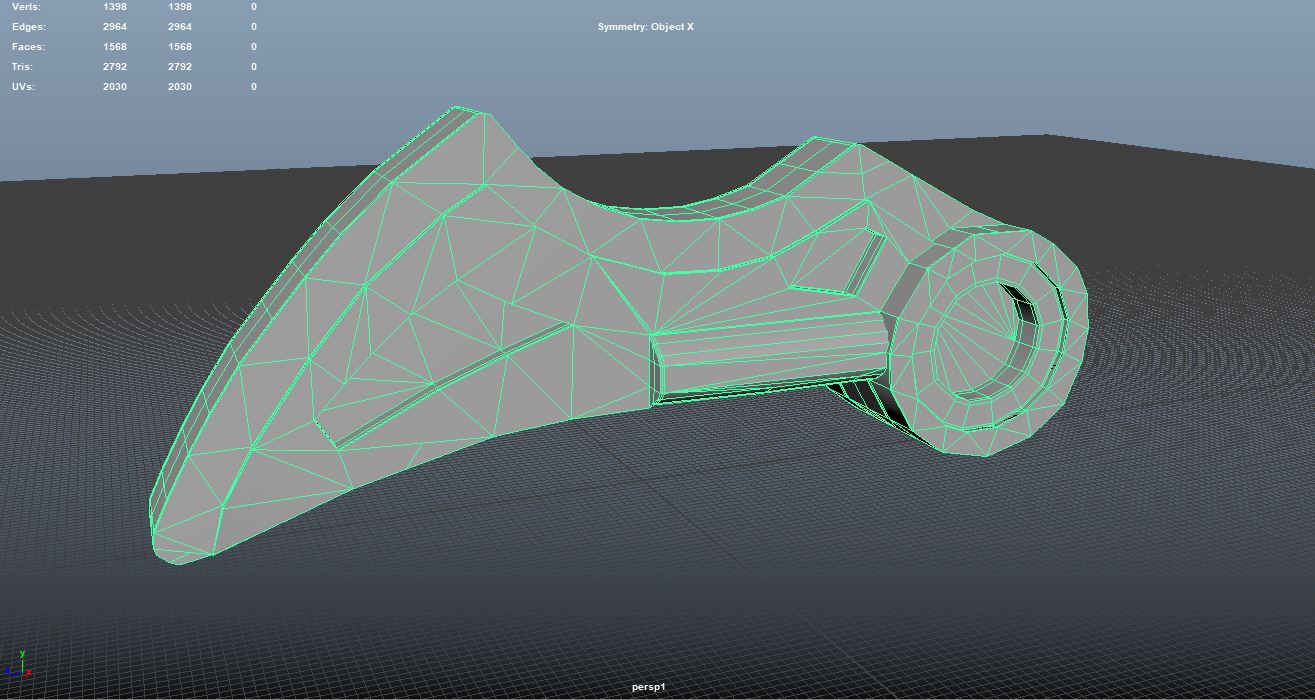
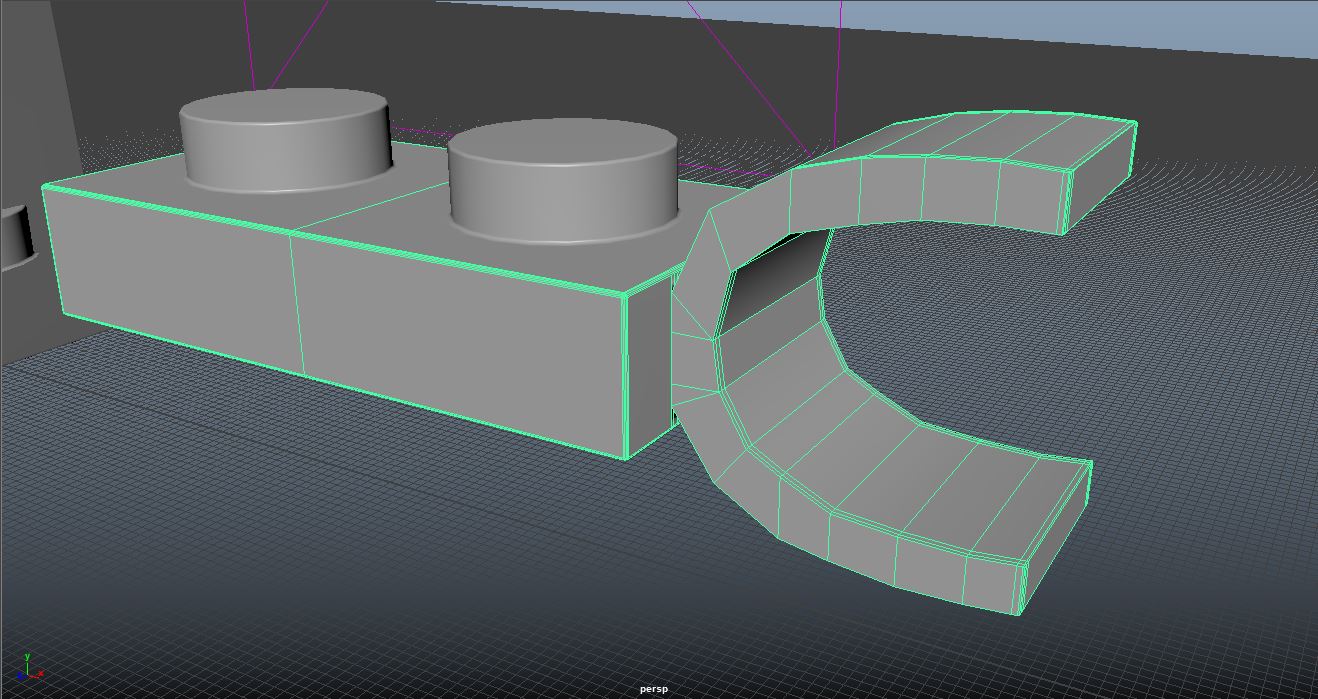
I created a simply proxy setup for the curve to be further modeled.

With edge loop creation I created a more rigid siding to the curve while having it maintain a smooth arch. 

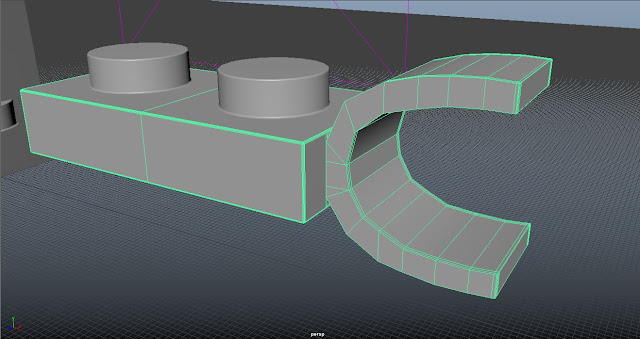
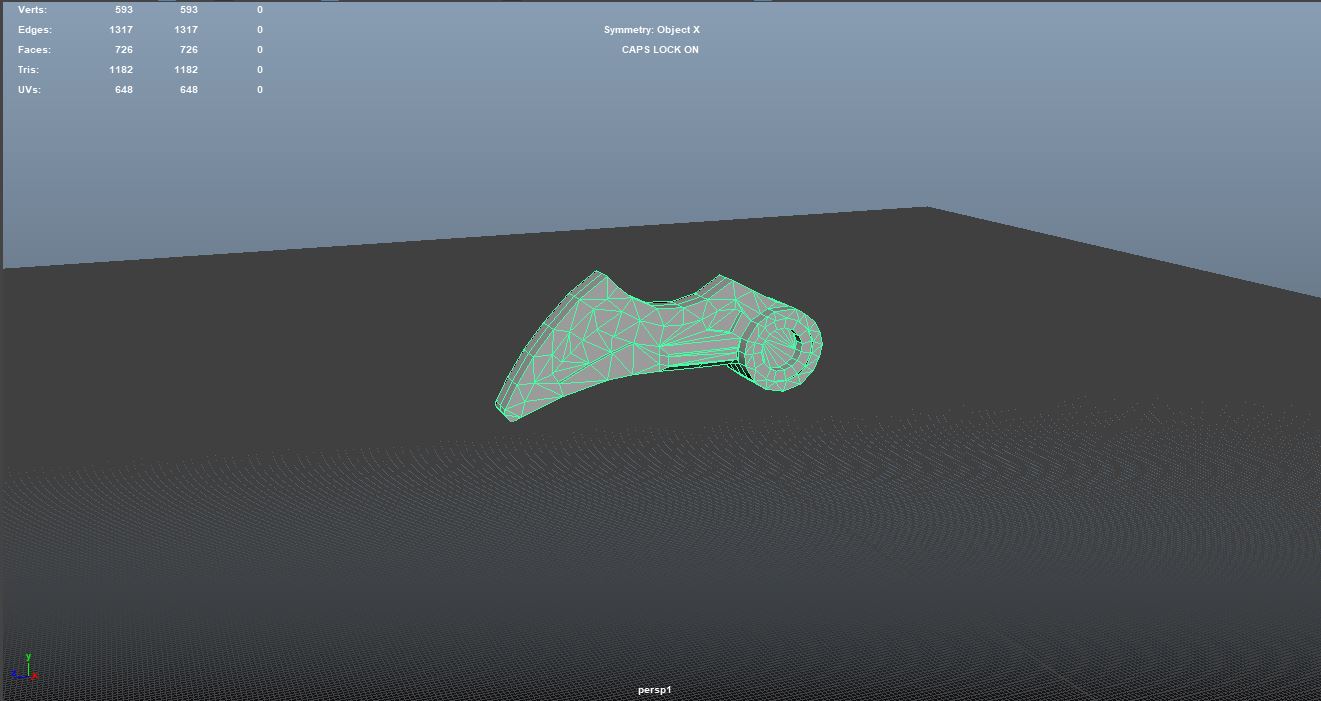
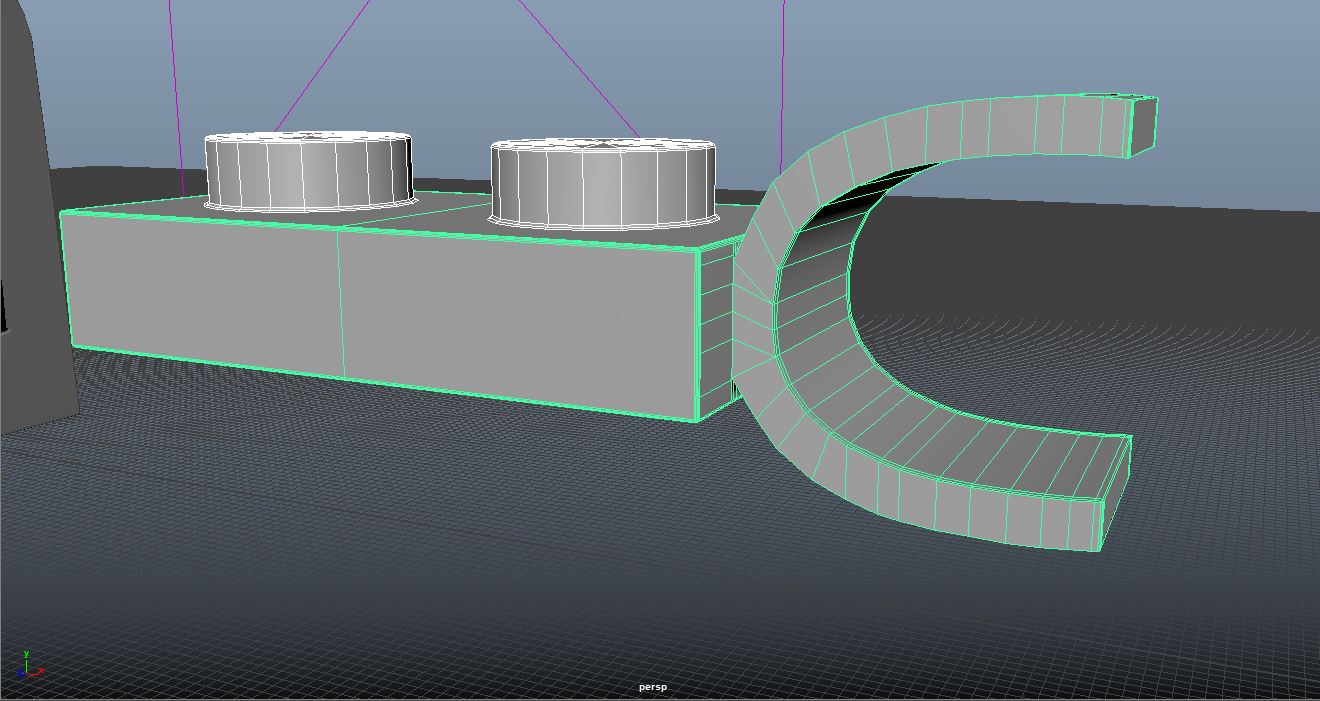
 I fixed the polygon counts by removing any Ngons tuning the finer details of the curve. I also merged the round tops to the brick to create one solid object. I then imported the asset to the UE4 lego library and submitted all the information to perforce.
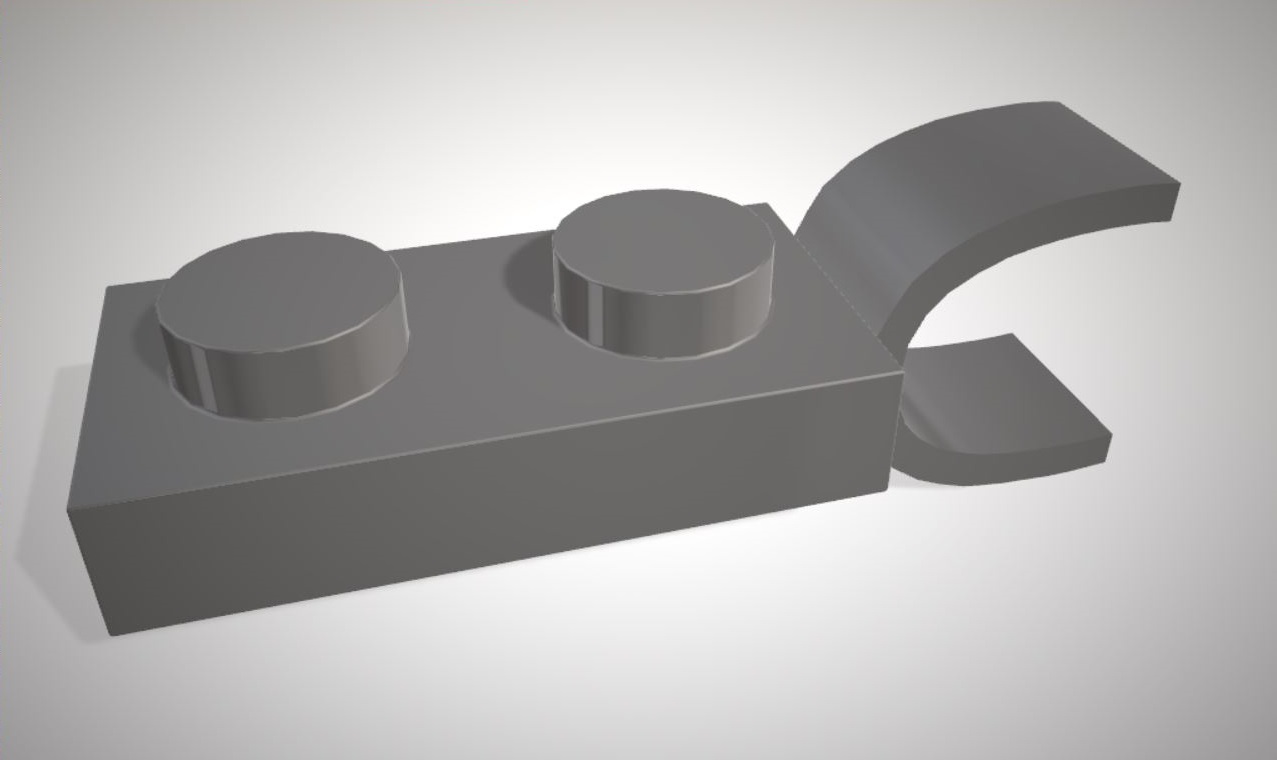
 And here is a rendered shot of the finished lego piece.